So to review, here is the bodice I am trying to "reproduce" as well as I can with modern materials.
 |
| The original |
And this is where I left off updating you. I was fitting the lining for the bodice.

Then I dyed the lining with coffee and I cut out the netting that had vertical tucks about every inch. Those tucks took a whole morning to do.

Next I added the "vest".
That weekend was dedicated to attaching lace.
Once I put on the vest I realized The tucks on the netting didn't go all the way to the waist. I was trying to figure out how the "puffyness" in the bodice was created. Well, taking out the tucks from waist to bustline, then pulling on the tuck threads to make them gather a bit, created that puff.
Sorry, didn't take a picture of that, you will have to see it later.
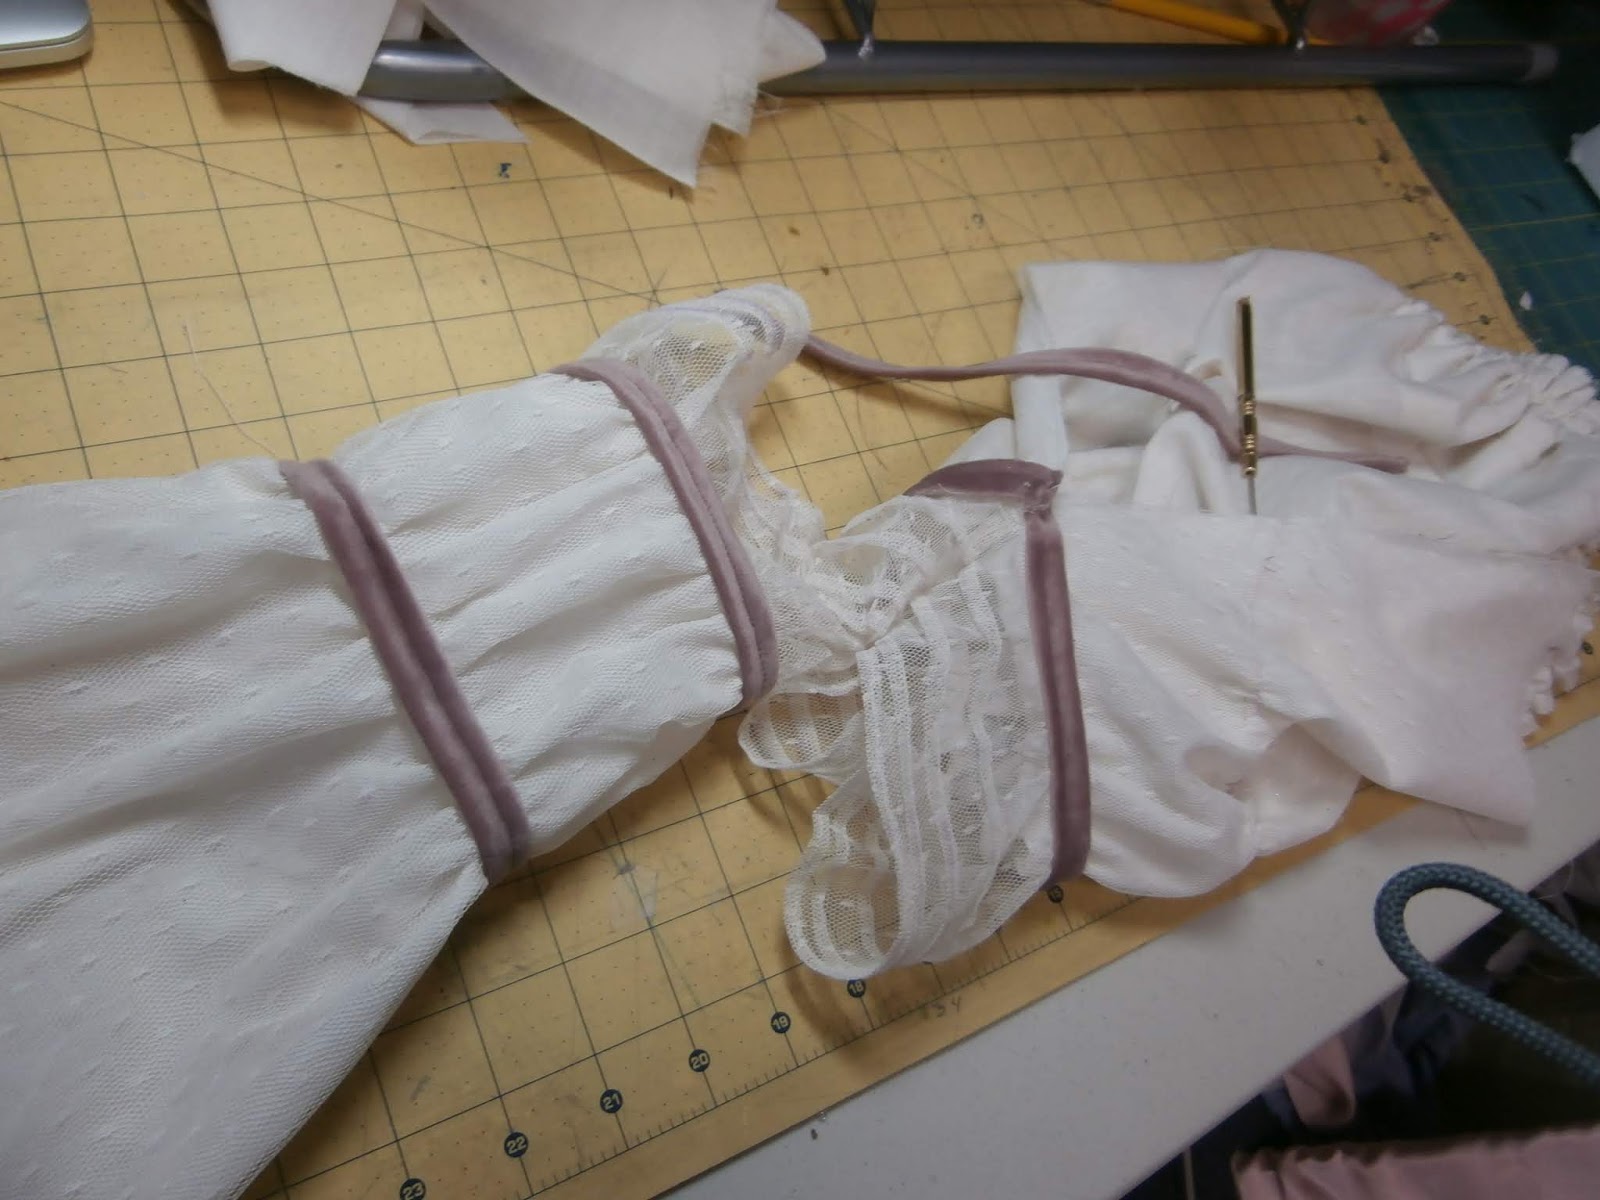
Sleeves next:
These sleeves consist of 2 pieces that overlap and have tails that overlap each other. I really couldn't see how they were put together or how they were cut out because the original is very fragile. The best I could do....


At this point, the lower sleeves needed to be created. That was a whole trip. Once I finished them I realized I hadn't dyed lining fabric for the sleeves......but only after I had completely made the lower sleeves. So that was sad, having to pick out all the stitching, dye the lining and redo.
So while I was waiting for the sleeve lining to dye, I started working on the collar. Collars are not my strong point. They are usually to loose, don't stand up straight, too high, too low... This time it did turn out pretty good. Again getting that puffy look.... vertical tucks and 3 rows of horizontal tucks, then pulling their threads so they gather a bit! I felt so smart when I figured that puff thing out. So at that point I basted the collar on.

So, back to putting the lower sleeves back together again. I'm only telling you this because some people think pulling out stitches is utter failure.
So, now back to the upper sleeves. The way these sleeves go together the upper and lower have to be attached to the dress at the same time.
I spent the weekend sewing on the lace for the sleeves.
Basting is my friend...repeat 10 times.
All anxious to get those sleeves done I didn't look at the picture when I just pinned the sleeves before putting on the lace. If I would have paid attention I would have noticed the sleeves are heading backwards!

No, I sewed them on and THEN looked. Very evident. Out comes the seam ripper.
But all is well, we have the sleeves on, the arms are going forward!
The collar is fully attached.
And this is where we are at...

And what need to be finished?
1. See the rosettes at the center front on the skirt. They need lavender velvet covered buttons in the center.
2. Rosettes are needed at both shoulders.
3. And the biggie....the belt. It is quite complicated.


No comments:
Post a Comment